There’s
a new rain garden in town, made possible by the RBC Community Action program, and it’s making a small but thriving community
garden more beautiful and functional. The
21 Plateau Crescent Killam Properties building in Clayton Park has been growing
greener and greener this year. It has eight new raised beds for vegetable
growing as of this spring. In just a few months, this little space on the side
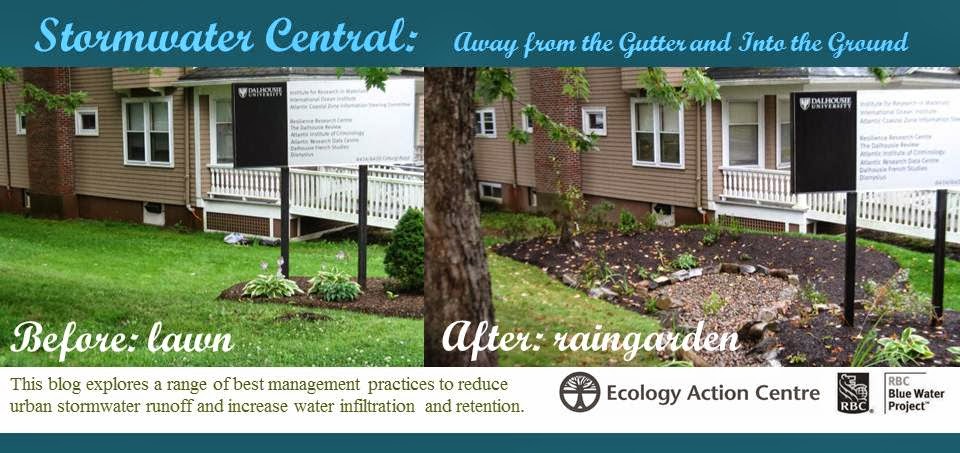
of the building has become quite the hive of activity. As you’ll notice from
the image of this space below, the garden area is on a steep slope. This causes water to flow
down next to the building and has caused flooding in the past. Sounds like the
area needs another type of garden: a rain garden.
 |
| The garden site. |
Rain
gardens are designed to intercept and absorb stormwater. They can be designed
with all kinds of gardening goals in mind. In this case, we chose plants that
would enhance the functioning of the community garden, such as plants that
attract pollinators, and edible shrubs. Note:
If you are thinking about putting edible plants in your rain garden, make sure
that the stormwater flowing into the rain garden comes from a roof and not from
a paved surface, which will likely have pollutants such as heavy metals and
oils. These will settle into the garden soil and will be taken up by your
plants. Annual vegetables are never a good rain garden choice anyway because you have to disturb the soil to replant each year. In this case, water flows over the grassy slope into the rain
garden, rather than from a paved area, so it is okay to put fruiting shrubs in
the garden.
 |
| Edible shrubs: Wild raisin, gooseberry, low-bush blueberry and high bush cranberry. |
Choosing
the location of the rain garden was a little bit tricky. Most of the space is
either needed for accessing the garden beds, has tree roots too close, has bedrock
too close to the surface, or is too close to the foundation of the building. In
order to visualize where people would need to walk, we spread mulch to form
paths from the gate to the garden area, and then around each bed. This helped
to show what space was left for a rain garden.
 |
| Defining paths with mulch helps determine where a rain garden can be. |
The
next consideration to plan for was the steep slope of the site. A rain garden
needs to be level for it to hold water long enough for it to absorb into the
ground over several hours. We were able to create a level space while digging,
but it does require more work than a less steep location.
 |
| Digging and leveling the garden bed. Note the berm made of sod. |
To
begin however, it is important to mark out the shape of the rain garden so that
everyone involved can visualize what shape it will be and where to dig. You can
do this with turf spray paint, stakes and line, or simply by cutting in with a
shovel, which you can see below. The next step is to remove the sod. It can be
used to build up the berm as you can see above. Then you can shift the soil in
the middle to level out the planting surface. Check your work periodically with
a level to make sure. While digging, also consider whether you have dug deep
enough to plant your plants to a proper depth, and whether the garden has a
slight depression to catch water flowing across it.
 |
| Defining the edge of the garden by cutting sod with a shovel. |
 |
| Composted sheep manure as a soil amendment. |
Once
you have loosened enough soil to be able to plant to the proper depth consider
adding soil amendments. We added composted sheep manure. Then mix it around
thoroughly so that it is evenly blended in. Then it's time to shape the bed to have a slight depression in the middle to catch water. Once those steps are complete, it's time to plant. For many, that's the fun part!
If
you do not have a pre-drawn planting plan, you can do your designing on the
spot with your plants. If you are new to gardening and thinking about plant
arrangements, this is the easiest way to do it. You can actually see what
it will look like, and you can just move the plants around until you are happy
with the configuration.
Consider that the middle of the garden will be wetter
than the edges, so place plants that require more moisture in the centre of the
garden and drier plants on the edges. Space the plants with their future full size in mind to avoid having to move them later. Also think about how people might use the space around the garden. For example, we put the blueberries and gooseberries
on the edge near the path so that people can eat berries without needing to
walk into the middle of the garden, and the pollinator friendly plants away
from the path to help keep bees away from people. You can see the arrangement
before planting below.
 |
| Arranging the plants before planting. |
The
final garden is below. Notice how the garden is mostly level despite being on
quite a slope. We also put finishing touches on the garden site by planting
pollinatoring friendly, dry tolerant flowers such as Black Eyed Susan, Purple
Cone Flower and New England Aster along the fence line. These native perennials
will help bring bees and other pollinators to the site where they will help to
pollinate the vegetables, aerate the compacted soil to make it more absorbent and make the fence line look more welcoming.
 |
| The finished garden. It is level compared to the rest of the slope to hold rain. |
 |
| Planting perennials along the fence. |
Many thanks to those who made the project possible: Killam Properties staff, the many community gardeners and volunteers who came out to help, ISIS staff and volunteers, the Clean Foundation staff and the RBC Community Action Program.


My dad has been wanting to find a better way to drain storm water from our home. There multiple methods that he's been looking into but he can't find one that he likes. This has some great insights thought I think he would like to look at.
ReplyDeletehttp://www.bettacrete.com.au/stormwater-a-electrical
canlı sex hattı
ReplyDeletejigolo arayan bayanlar
salt likit
ZYNN8